The making of 'you i i i everything else'

The finished sculpture.
Here's a quick look at the process behind my latest sculpture
'you i i i everything else'

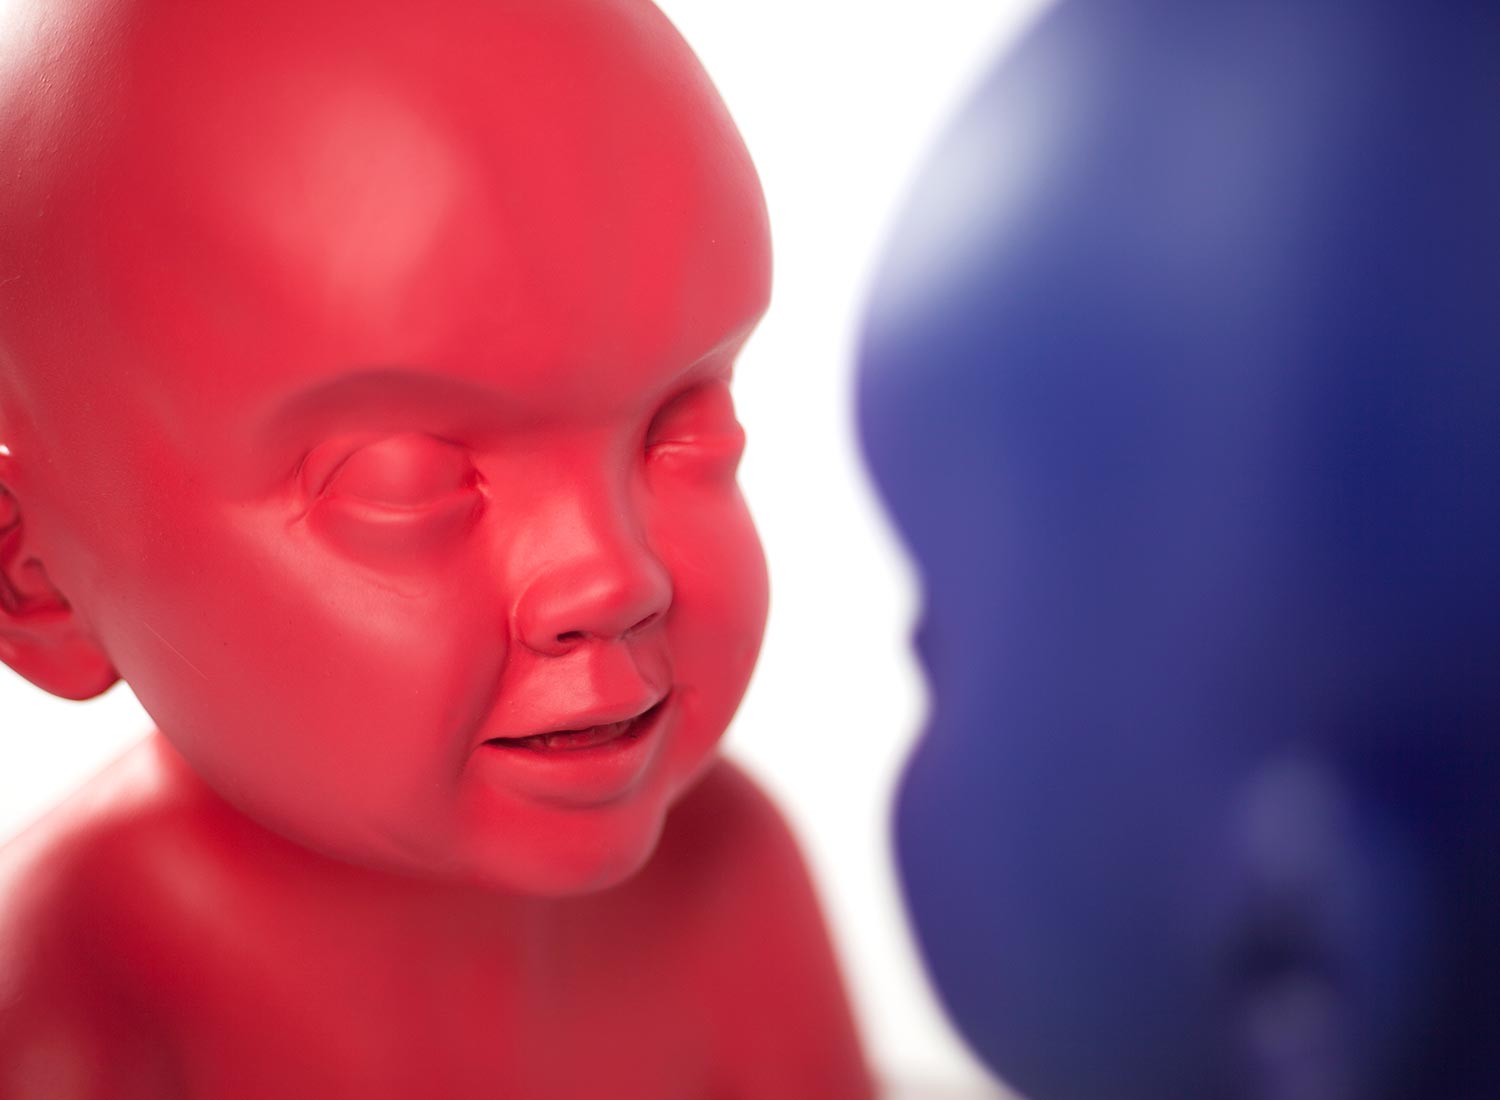
First, and most importantly, you will need one ridiculously cute nephew who you can make look a bit creepy by removing his hair and irides (that's the plural of iris - I had to look that up). NB Please be sure to do this only on the sculpture, not on the nephew.

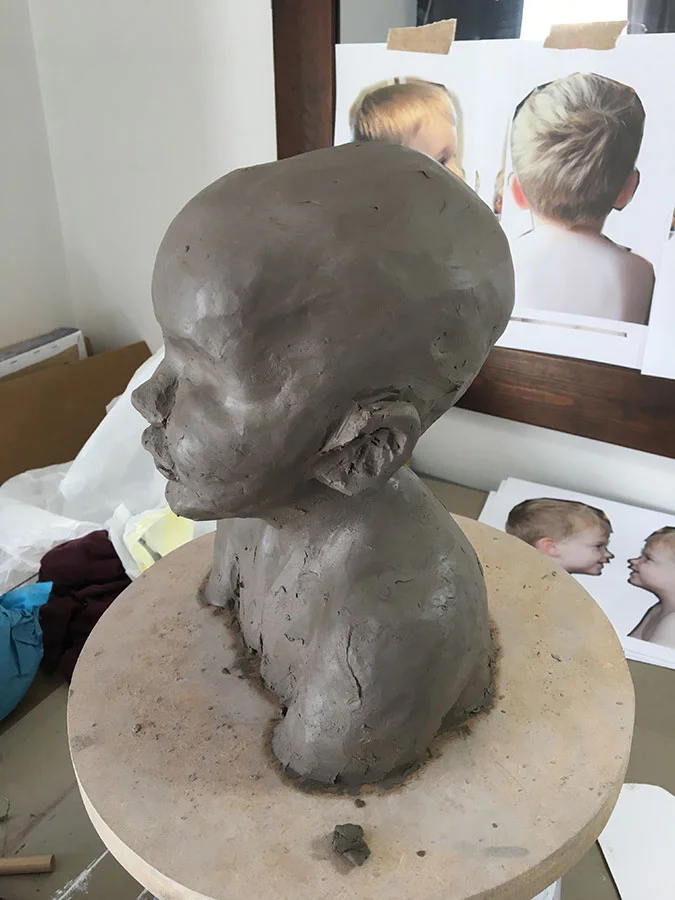
I made a simple armature (the metal rod and rectangular section of timber) to support the weight of the clay. Placing it on a circular wooden base means I can then rotate it easily as I'm working. Note the highly technical upturned tub below to allow for rotation. One of these days I will invest in proper banding wheel.

Onto the armature I roughly modeled some tin foil. This creates lightweight bulk without the need to add loads of clay.

Clay is then applied over the foil.

A rough form is modeled. You can see the photos of my nephew behind for reference. A live model would be ideal but asking Jack to sit still for me would be like asking my dog to parallel park. Besides, he would probably be hitting me with the tin foil roll and putting clay in his ears. And mine.
Refining the shape.

Nothing creepy here.

At this stage the modeling was pretty much done. Now to make a mould...

Thin sheets of brass known as shims are cut and inserted into the clay to create two or more sections that will make up the mould.

A two-part liquid silicone rubber is carefully mixed and brushed onto the first section. This is a thin layer which is carefully applied to capture the detail of the model.

Once set, further layers are gradually applied to build it up to a good thickness.

The silicone can be thickened with an additive to help prevent it from running off (slumping) and to help build up to the desired thickness.

Because the rubber mould is too floppy to hold it's shape when casting, I need to add a hard outer shell. With this in mind, I added some blocks of rubber to the final layer which will help to locate the rubber mould into the outer shell.

The edges of the rubber mould are trimmed and locating 'keys' cut to help lock it into place in the outer shell.

The outer shell is made with a two part polymer resin and reinforced between layers with coaxial stitched glass. Alternatively, this could be done with plaster and jute or modroc.

Is anyone still here? Well if so, I've removed the brass shims and tidied up the line where they'd been inserted. Vaseline is applied to the rubber, outer shell and base to prevent the two sides of the mould from sticking together. The silicone rubber is then brushed on to this half and the whole process repeated.

Once everything is dry I tidied the edge of the outer shell up and drilled some holes into it to insert bolts which will help lock the two parts of the mould together when casting.

Sorry I didn't get a shot of the actual casting process but in a nutshell, with the two halves of the mould bolted together the mould is turned upside down and a two-part polymer resin is mixed. I'm pouring a solid cast for this sculpture (rather than building a hollow cast) so in order to ensure I got all the detail in the tricky parts where there is a risk of bubbles forming and leaving gaps, I mixed small amounts for the face and ears and poured these first. The rest is then filled with the resin. The whole thing is then left for a few days before removing the mould.

Ta daa! Always an exciting moment after the frankly very boring task of making the mould, the first cast is revealed. Notice the thin layer of resin which has formed a seam where the two halves of the mould meet. This all needs to be trimmed and any imperfections carefully sanded and filled. The whole thing will need to be sanded with a fine grade wet and dry paper to create a smooth surface.

Three of the casts in various stages of sanding.

The casts are then airbrushed with acrylic paint. After the primer, layers are built up and a final couple of coats of matt acrylic varnish are applied.
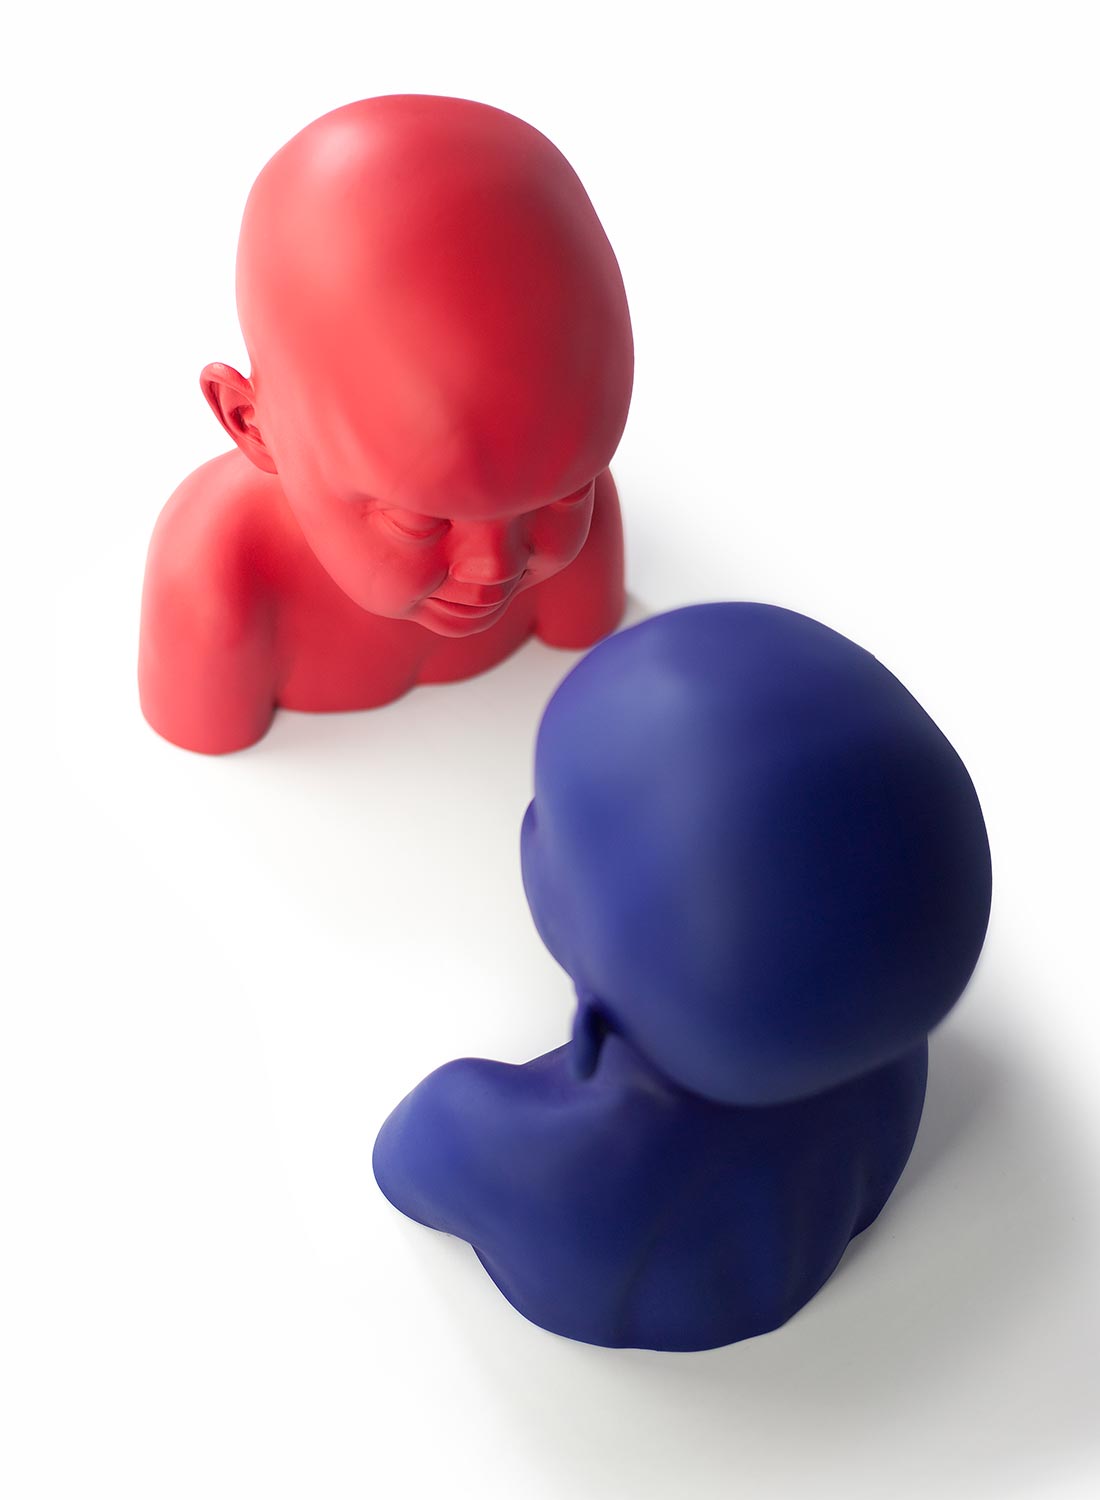
The finished piece.

Congratulations - you've made it to the end! I hope it's been of some interest. If you'd like to see more images and information on the sculpture (not least of all what it's all about!) click here or read Andrew Griffin's article for The Independent which describes the event that inspired it.
One last thing - apologies to my niece Leah, who was originally going to be part of this sculpture but the more I thought about it, the more I realised it needed to be the same face and the same age. I hope you understand and I'm sure I'll make you look creepy at some point, too. And finally, a big thanks to Jack. I couldn't have done it without you, buddy.