Attention Seeking

The making of Waully Mudmound.
Or how I made that weird thing on top of the a-board.
Being tucked away up a side-street means it isn't always easy to attract the attention of passers-by on the main road. We already have an a-board sign but felt it could use a bit of extra help so created this odd little fellow called Waully Mudmound (answers on a postcard).
Here's how he was made:

Early days.
First I needed to create a wooden base to replicate the top of the a-board to ensure he would sit snugly on the angled top (note the dodgy tracing on the gold paper to get the angles). It was then a matter of creating a (very) rough shape with cardboard, tinfoil and tape onto which I could add the clay without needing a massive block of solid clay.
Hmmm....
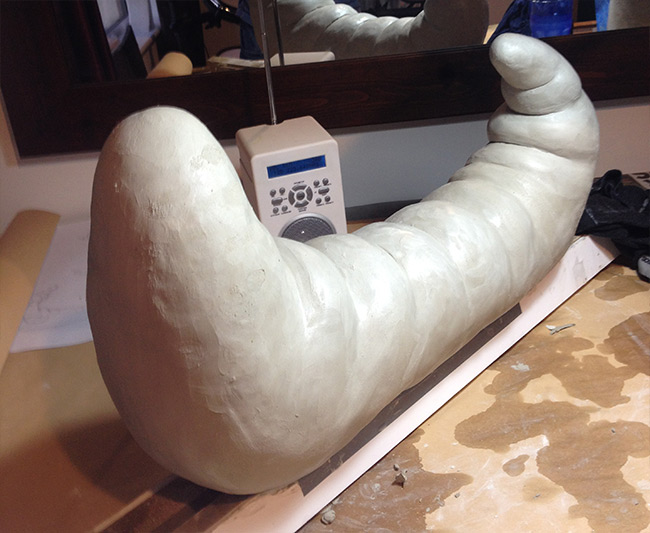
A layer of clay was added and formed into the rough shape.

It's all in the eyes.
More detail and a couple of limbs were added. I'd incorporated teeth at this stage which I later decided against because they would potentially be very fragile and also because he just looked a bit friendlier without. Like my gran.

Buttons for eyes. Obviously.
At this stage I added the huge buttons (why did I even have those?) which would be replaced after casting with goggles. The buttons gave the imprinted recesses in the clay that I'd need to secure the goggles. The holes were added because I wanted this sculpture to be lit from within to create a bit of interest.
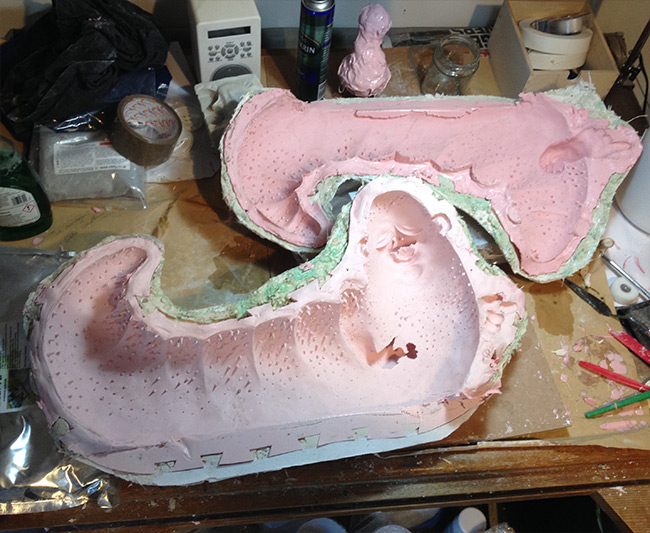
Creating a mould.
With the clay sculpture finished I needed to make a mould. For this I used a silicone rubber which is slowly built up over one half of the clay original. This is then reinforced with an outer shell in hard resin to help maintain the shape. Once done, the process is repeated on the other half to create a two-piece mould. The green edge you can see on the outer shell is washing-up liquid which stops the two sides sticking together.

Creating the cast.
I needed to make a cast in a material that would survive the balmy Lancashire weather. I chose Jesmonite which is an acrylic resin that is a personal favourite because unlike other resins, it is water-based and a more eco-friendly alternative. This also makes it a lot nicer to work with as there are no noxious fumes. The cast is built up in layers with a glass-fibre type material added to increase strength.

Removing the mould.
Here I've removed the first half of the mould and it's looking fairly good. Well, the cast is. The actual sculpture is looking fairly grotesque but I've only myself to blame. Or perhaps my parents.
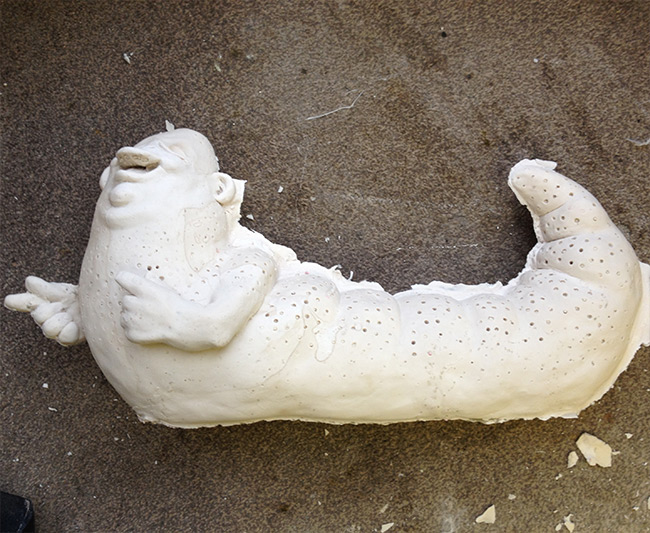
They broke the mould. Or at least they should have.
De-moulded and ready to be tidied up. All the excess from where the mould joined together needed trimming and all the holes drilling through. That was a lot of holes. I felt like Christopher Eccleston in the attic in Shallow Grave.

Paint it black.
The bobble hat was cast separately as a solid resin block and attached with a steel rod to strengthen it. Clear acrylic discs were cut and glued into the frames of the goggles which were then bonded and screwed securely to the body. The whole thing was then painted with an iron powder which is then sprayed with an acidic solution to cause the iron to rapidly rust, which keeps it nicely tied in with our branding colours on the signage. On the downside, it reminded me of house training our dog.

Rust never sleeps.
The nice rusty effect must now be sealed to prevent it further rusting and leaking all down the sign and all down the pavement. Unfortunately, I've yet to discover a way of achieving this that doesn't lose some of the effect. However matt your sealant, it always adds a sheen that never looks quite as good as unsealed rust. To finish I added a colour changing led strip inside the body cavity and with the kind help of my brother and his trusty soldering iron, two white led's up to his peepers.
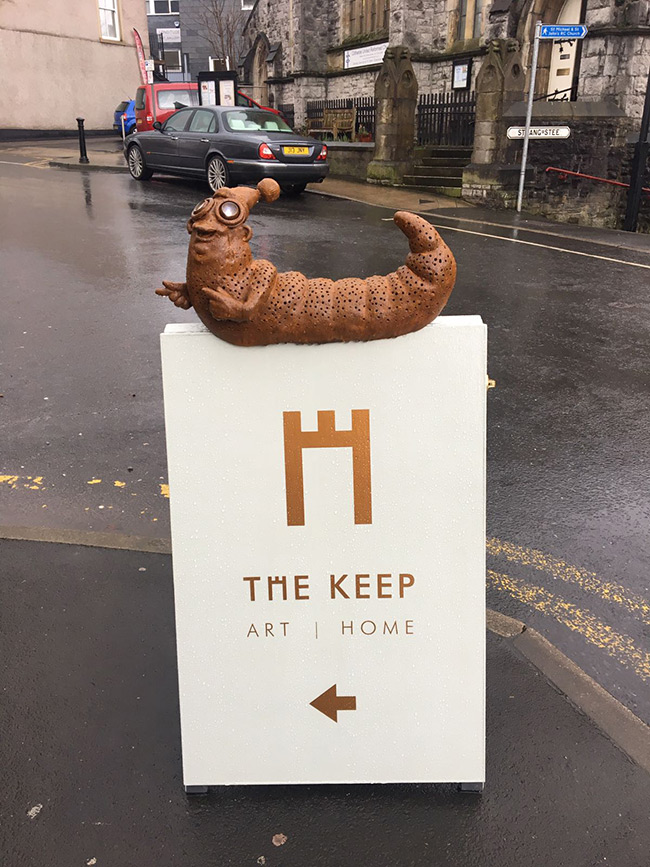
Chairman of the bored.
So here sat Waully atop his a-board in the rain. He was there for just a few hours before a very amused customer pointed out how much he looked like Mr Hanky from South Park. And let's face it, once you've seen it, you can't unsee it. He even has the hat! I don't know what that says about my subconscious but it can't be good.
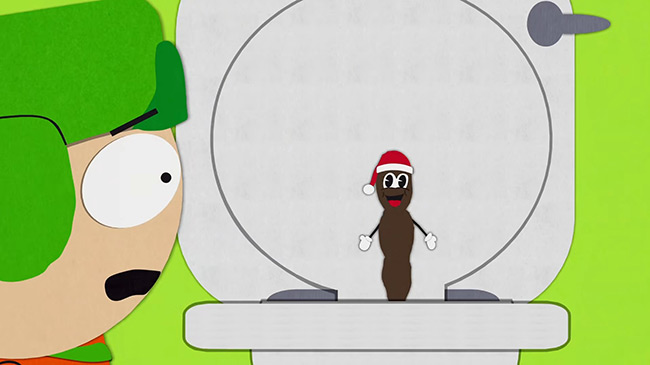
Mr Hanky.
So a quick paint job later, he's back with a new look that hopefully will stop any comparisons to South Park characters!

Tangled up in blue.

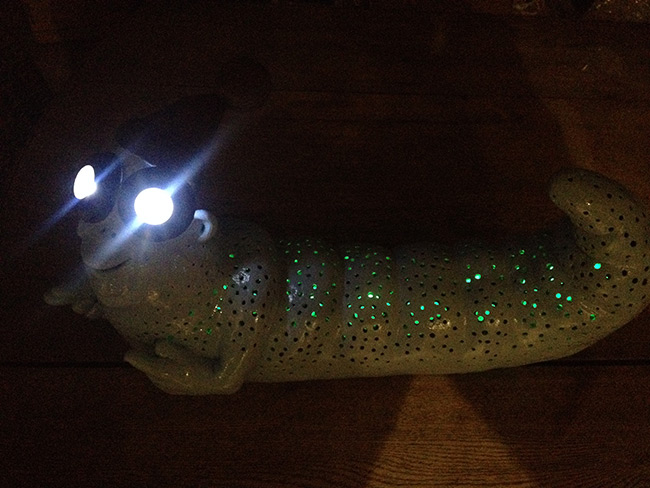
Bright eyes.
But I'm a fickle fella and the blue just wasn't sitting right with me. So the final(!) decision was a metallic copper that fits nicely with our branding colours.

Bent copper.
The body lighting is subtle at the best of times but looks better as the sun dips and will hopefully look like a disco in his belly come the autumn/winter months. That said, Julia reckons he'll be stolen or broken within the month but she's just cynical like that. Like a naive fool I have more faith in humanity. Place your bets.